How to Install Iis on Windows 10 Step by Step
How to Install IIS in Windows 10 (3 Methods)
22450 Views 0
Introduction
This guide demos 3 methods to install IIS in Windows 10. IIS (Internet Information Services) is a Windows 10 optional feature that can be enabled or disabled as you wish.
Options to Install IIS in Windows 10
The 3 methods to install IIS in Windows 10 discussed in this guide are:
- From Control Panel
- Install with DISM
- Enable IIS with PowerShell
How to Install IIS in Windows 10 from Control Panel

The first method covered in this guide is how to enable IIS optional feature from Control Panel.
Here are the steps:
- Type control panel in Windows 10 search bar. Then click it from the search results.

- When Control Panel opens confirm that View by is set to Category. If not click the drop-down and select Category.

- Then click Programs.

- At Programs and Features, click Turn Windows features on or off. A new pop up window will open. If the Windows Features window is too small, you can expand it (see the second image below).


- Then at the Windows Features pop up screen, locate Internet Information Services and click the check box beside it. This will check the default sub-features.
- If you wish to customize the features, click the + sign beside Internet Information Services. You can then expand each of the 3 sub-features and check any additional feature(s) you wish to install. When you finish making your selection, click OK.

- The feature installation will commence by searching for required files.

- Then the features will be applied…

- When the installation is completed click Close.

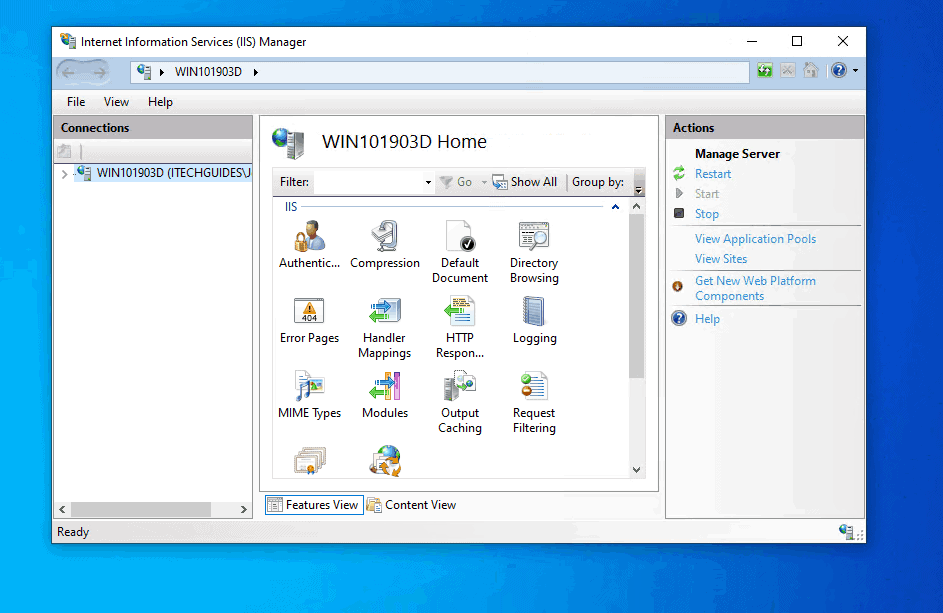
- To confirm that the installation is successful, type IIS in the search bar..

How to Install IIS in Windows 10 with Command Line

As you would expect, you can also install IIS in Windows 10 from command prompt.
Here are the steps to enable IIS with DISM command:
- Type cmd in search bar. Then beneath Command Prompt, click Run as Administrator.

- At command prompt, type the command below. Then press enter.
DISM.exe /Online /Get-Features | find "IIS"
The result of the command will display all available IIS features…

You can enable features one by one. You could also install the default IIS features.
- To install default features of IIS, type the command below. Then press enter.
Dism /Online /Enable-Feature /FeatureName:IIS-DefaultDocument /All
The command initiates the install…

- Wait for the Enabling feature(s) bar to reach 100%.
How to Install IIS in Windows 10 with PowerShell

The final method covered in this guide demos how to install IIS with Windows PowerShell.
Here are the detailed steps:
- Type powershell in search bar. Then beneath Windows PowerShell, click Run as Administrator.

- To list all IIS optional features, type this command in PowerShell. Then press enter.
Get-WindowsOptionalFeature -Online | Where-Object {$_.FeatureName -like "IIS*"} | Format-Table Here are the results in PowerShell (Some of the displayed results are hidden in this image)
The results are displayed in table format because of the Format-Table command. If you do not include the Format-Table command, the results will be listed.

- Then to install default IIS features, type the command below and press enter.
Enable-WindowsOptionalFeature -Online -FeatureName "IIS-DefaultDocument" -All
- PowerShell will begin IIS installation.

- Then when it is completed, it will return a result similar to the one below.
Conclusion
The methods in this guide offers you 3 options to install IIS in Windows 10. The methods demonstrated how to perform the default installation.
Have a question, comment or feedback? Use the "Leave a Reply" form found at the end f the page.
For more Windows guides visit our Windows How To page.
You may also check for technician jobs here.
- Was this post helpful?
- Yes (14)No (2)
How to Install Iis on Windows 10 Step by Step
Source: https://www.itechguides.com/install-iis-windows-10/
0 Response to "How to Install Iis on Windows 10 Step by Step"
Post a Comment